Tuesday, January 28, 2014

Professional SoftBox Lighting


Hello all :)

Today I wanted to share with you one of my recent splurge items that I found to be pretty amazing! I got this set of softbox lighting from Amazon after several days of online research and debating. At first I was hesitant due to the price but so far I've enjoyed the quality and brightness of these lights. Another thing that had me a little weary was not being able to find review videos on YouTube regarding which brand names were worth it and how much wattage to buy.

*This post will be full of necessary information and pictures of this softbox lighting kit. I hope that once you read and see pictures, you'll be able to make a better informed choice if you're in the market for new lights.

So before I go into details, I wanted to share with you some background information as to why I wanted/needed new lighting. I have a very active YouTube channel where I upload beauty related videos and of course I have this blog that's also beauty related. For the types of videos and blog posts I make, lighting is very essential for quality. I recently upgraded my filming camera to a Canon T3i and felt that I also needed to upgrade my lights. I think it's time for me to bring my videos/blog to another level....Full HD and bright!

**On Amazon this kit sells for $159.99

I know that sounds like a lot especially all those light bulbs but these types of bulbs are crucial for great quality videos. If you are wondering what 5500k means.....this is the color temperature of the lights. In this case (5500k) bulbs are cool white with a slight bluish tint that is more daylight type of lighting. Now for anything less than 5000k, you'll be getting a warmer soft white color from the bulbs. If this is confusing than think of it as 5500k bulbs would be brighter and whiter than your normal everyday bulbs used around your house which typically are a yellowish tone. I would recommend 5500k for professional looking videos and photography.

So let's break it down (FYI: photos were taken with my iPhone)....

Carrying Case
Everything included in kit: (L to R)
Light sockets, light stands, softboxes & light bulbs
This kit does lacks good assembling instructions so it took me about 30 minutes to figure out one softbox. Once I got a method down, it was very easy to assemble. So I'll explain everything here:

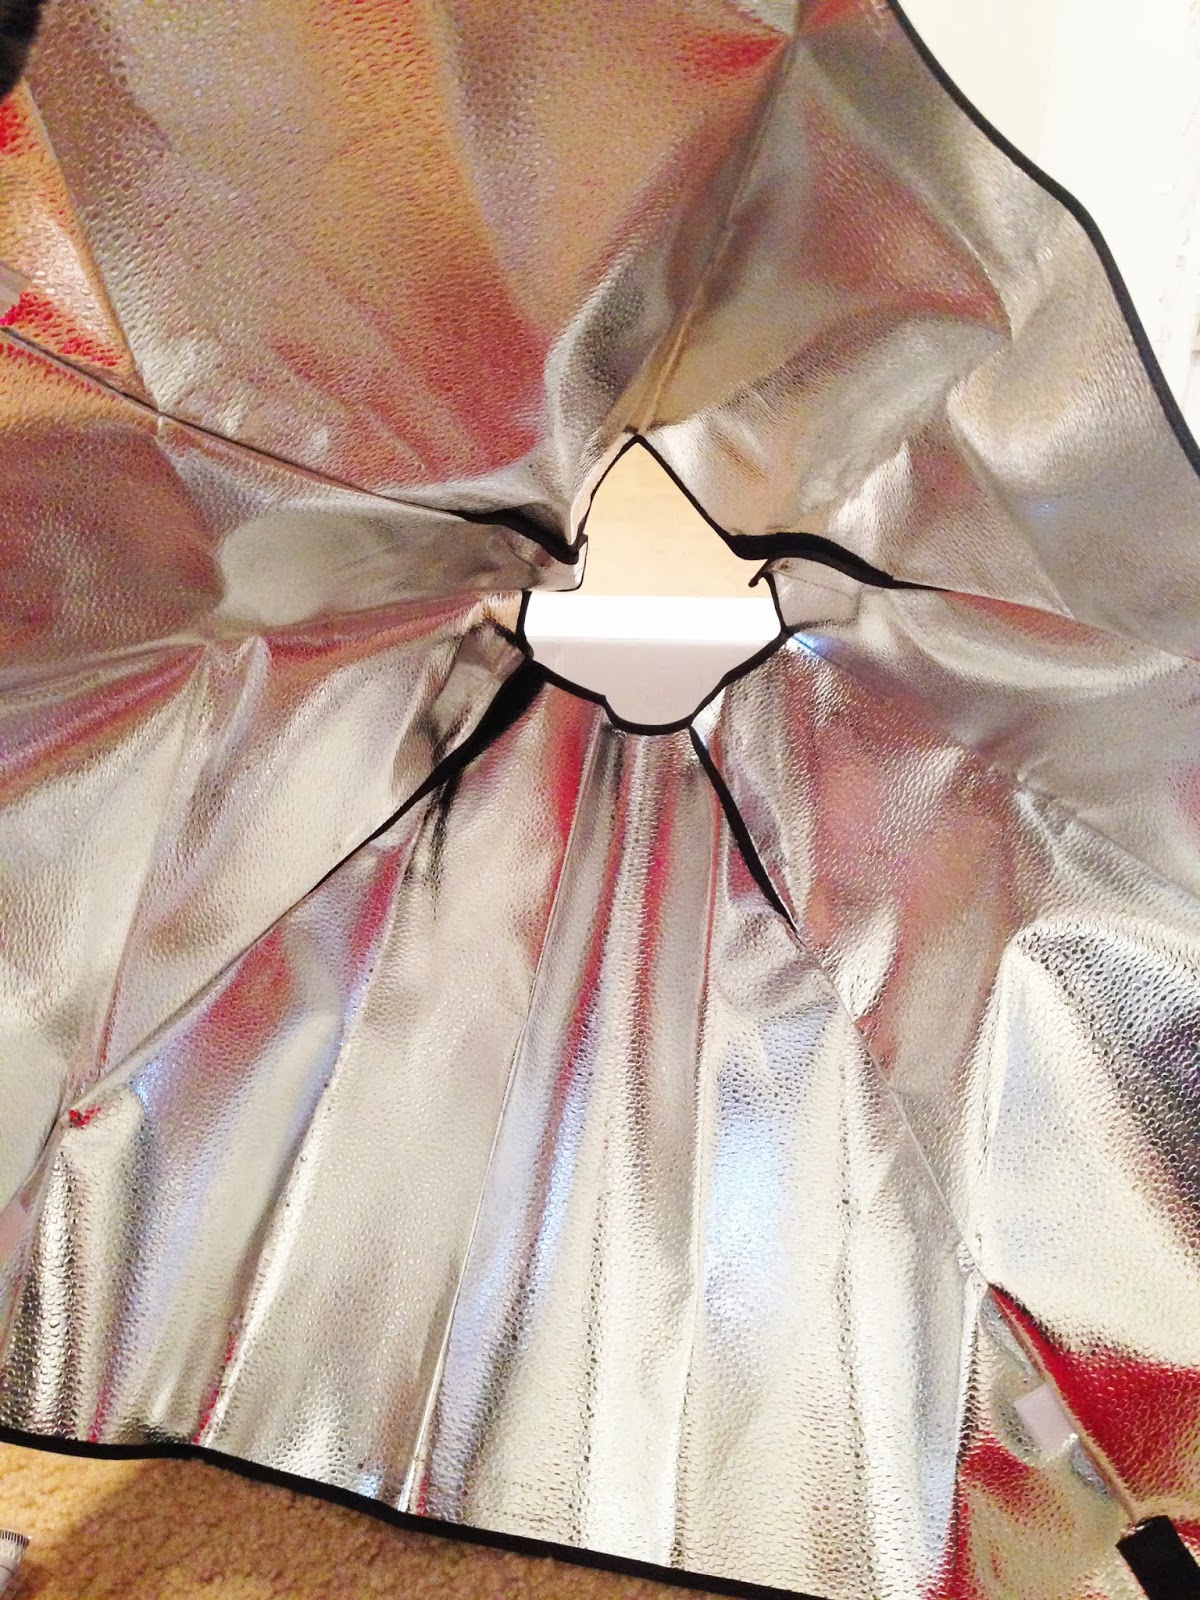
Inside look of softbox
Light socket
You will insert the light socket into the opening
of the softbox. These softboxes are held open with
metal rods (shown below)


**You'll need to tug this end a bit to get the rods to fit. It will seem hard but this will ensure that the softboxes remain open at all times. 


The best way to assemble these without getting frustrated is to leave the velcro undone around the base of the light socket as shown above. There are four corners to these lights so what you see above is the lower right hand corner of softbox which I completed last. 


Above I showed you the metal rods used to keep softboxes open. The rim of the light socket has cutouts for one end of the rod. Again, as you can see in this photo, I didn't close the velcro because it would make inserting the final rods a lot harder.  Once 3 of the 4 rods are in place, you'll need to add some force to get the final one in. 

Once your softbox is assembled, you'll be ready to attach it to the 7' light stand (shown below)


A look of the backside of light socket
*Another great reason to buy: This kit has the option to turn on specific lights. You can add 5 light bulbs into the light socket and you can choose which ones to turn on according to how much/little lighting you want. I think this is amazing! Plus there's a handle grip which is a bonus! 
Inside look without bulbs and white cover
I've chosen to add only 4 bulbs because these
are mega bright!

Side profile view
These softboxes are huge!
This kit includes another lining on the inside.
Not sure what it's called but this white fabric
is attached via velcro & helps disperse
the lighting evenly.
Front look with softbox white cover

15 Light bulbs included
45 watt each for 3000 watt lighting

Final view of an assembled softbox

You might be wondering whether having 3 softboxes are essential? I believe so, because having one softbox will only light what is directly in front of it. Two softboxes will only light what's in front and one side (either left or right). Which ever side isn't lit, you'll have some dark shadowy patches. So three softboxes are ideal for a 3 point lighting system (left, right & center).

I do feel this kit is worth the money. I know $159.99 may seem like a lot but for affordable professional lighting, you can't get any cheaper. I think for making YouTube videos this kit will be perfect.

I hope that I have covered everything you were curious about and I also hope that I have answered any of your questions throughout this post. Please feel free to leave your questions and comments below and I'll do my best to response promptly. 

Be sure to follow me on Twitter for Daily Updates on my blog and channel. Check out my YouTube channel  to see beauty related videos and soon you'll see these bad boys in action. A video on these lights will eventually be uploading sometimes within the next two weeks so please look out for that.

Thank you for stopping by and showing support :) :)
xoxoxo
~Lexi 


Saturday, January 25, 2014

The Perfect Palette Tag!

Hi everyone!

How's your weekend going so far? I hope it's awesome :) So today I posted The Perfect Palette tag video on my channel! A subscriber tagged me and I thought this would be a fun video to do. So below are the categories and if you want to answer them...consider yourself tagged :)


Categories for tag video:

1. Best Packaging
2. Best Color Payoff
3. Most Versatile
4. Best for Travel
5. Biggest Regret
6. Best Color Names
7. Least Used
8. Most Used/Loved/Desert Island

My Responses:

1. Urban Decay Book of Shadows Vol.4
2. LORAC Pro Palette
3. Urban Decay Vice palette (original)
4. Urban Decay Naked (original)
5. Tarina Tarantino palette
6. Too Faced A Few of My Favorite Things
7. Urban Decay Naked 2
8. Urban Decay Naked (original)

*Check out my video to see what my responses were. This was really fun and I hope that you enjoy doing this tag as well. Feel free to leave me your responses here or on my YouTube channel.

*Stay Connected with Me via Twitter & Instagram (GlamourbyLexi) where I post regularly lots of makeup and random goodness :)

Thank you for stopping by and for showing support, take care!
xoxoxo
~Lexi

Tuesday, January 21, 2014

January 2014 Ipsy Glam Bag!

Hello all!


So I wanted to share with you some goodies that came in the mail recently from Ipsy. For those who aren't familiar with Ipsy, it's a subscription service that delivers monthly glam bags right to your door! It's a $10 a month beauty subscription that usually includes a variety of sample and full size products from skincare to makeup. I think this is a great beauty service that will help expand your horizons among cosmetic brands which is one of the reasons why I subscribed. The second reason, of course was the price. It's one of the cheaper "beauty box" type services. Click here to visit the Ipsy website.

Here are the goods that came this month:

All your products come in coordinating pouch.
These pouches make great travel makeup bags!


Body Balm "Balm Me Up"
Organic body butter

Inside look: it's super creamy & smooth!
This "Balm Me Up" product has good and bad features. Firstly, this product is so smooth and luxurious feeling. I love the way it feels but the smell is extremely strong. It has notes of lime, mandarins, oranges, lemongrass and the usual shea/cocoa butter smell. While this all sounds good and I quite enjoy these scents, this product smells like bitter citrus. It's really over powering at first but after a little while it goes away. The moisture in this product doesn't last long either. It's a shame because I really wanted this to work. The only use for me is as a foot lotion after a pedicure. 

Product is clear and it's very moisturizing. I was looking forward to this when I saw
the sneak peeks online. This is the actual full size which runs about
$12 on the company website. I really enjoy the feel of this lip balm.

This is another brand I am not too familiar with. The shade I received was
"buff" and I do have to say it matches pretty well. I haven't used this yet
so expect a review within the next few weeks.

Benefit the Pore fessional
Benefit Pore Fessional is a product I've used in years past. It's goes on colorless and it feels really silky. It makes your face feel and look very smooth. It does work to smooth over large pores so if you're after a product like this, give this one a try. I do have to mention that if you are oily, this product doesn't mattify the skin so expect to use blotting sheets or setting powder throughout the day.


Make-Up Cleansing Tissues
This pack contains 10 wipes infused with pomegranate extract.
I am a little weary because these don't mention "oil free" but they
are hypoallergenic. 

So that's it, those were all my products from this month's Ipsy glam bag. I hope you enjoyed my mini reviews of these products. I plan on doing these mini reviews every now and again so that I can share good products with you. 

Don't forget to check out my YouTube for beauty related videos. Also, stay connected with me via Twitter

Thanks for stopping by
xoxoxo
~Lexi


Thursday, January 16, 2014

Best in Beauty 2013

Hello everyone!


Earlier today I posted my Best in Beauty 2013 video on my channel (click here) to watch it. There were so many great products from 2013 that I really enjoy but the ones in the video are truly amazing! I hope that you stop on over and find something new to try. If you have any thoughts or product recommendations, please let me know with a comment here or on my YouTube channel.


Before letting you go, I'd like to extend a sincere Thank You for showing your support, reading my blog posts and for watching my videos. I truly enjoy making beauty videos because of the support I get from you all :) I wish you the best in this new year! Take care

Stay connected with me via Twitter @GlamourbyLexi (https://twitter.com/glamourbylexi)
xoxoxo
~Lexi

Friday, January 10, 2014

My Son's 1st Birthday!

Hello everyone!

I wanted to share with you a few pictures from my son's 1st birthday party. My son loves Mickey Mouse, so of course that was the party theme. I know my son probably won't remember this day but I will and the photos I have will last a lifetime. It's so hard for me to accept that my little guy is growing into a toddler. It seems like just yesterday he was born! I want to go back in time to when he was a really small baby...I miss those days.

Now on to some party goodness......

If you would like to see everything up close, click here to watch! I ordered all of the Mickey Mouse decorations from Party City's website. They have really awesome birthday decor packages that include pretty much everything you need. The sizes on the kits depend on the number of guests attending. I ordered the smaller sized kit then added plain color matching plates, utensils, napkins, etc to match the Mickey Print. I think it's cheaper that way. Click here for the Mickey Mouse Birthday supplies.

Final setup


The birthday cake was special ordered from a Bakery in Austin, TX. I went to the bakery about a month and half before his birthday to do a cake tasting and to make sure the cake I designed would be  completed as I wanted. Yes, I am one of those parents that plans way ahead of time for these special moments. I choose to play it safe with flavors on the inside because I wanted everyone to enjoy it. I went with a moist marble cake with pastry cream between the layers and fondant work all over.


On the inside was a marble cake with a pastry cream
filling and fondant work all over.

Here are the homemade Mickey Mouse shaped cookies we made and decorated the day before the party. In the video linked above, I show you how to make homemade royal icing and how to decorate cookies. You should check it out :) 

These were a "thank you" favor for all of our guests.
It's a basic sugar cookie dough decorated with royal icing.
(links below)
 Click here for Martha Stewart's sugar cookie recipe. This recipe for some reason didn't have a baking temperature or baking times. So I had to play around with time but it took 10 minutes at 350 degrees to get a perfectly baked cookie.

Click here for Alton Brown's Royal Icing recipe. This recipe done as stated, was a bit too thick for my liking so I added 2 Tablespoons of room temp water to thin it out. After adding a bit of water, the icing was great to work with. This recipe will make a white icing, you must add food coloring to get colored icing.


My husband and I made this Mickey Mouse Ears centerpiece with dum dum lollipops. This process was tedious so explaining it would make it sound more complicated than it actually is. I do recommend watching my video on it (click here) It's a super cool way to add a bit of DIY to your party. It will definitely get people talking about it.

Centerpiece
It took a 300 count dum dum lollipop bag plus one regular
size bag.

Picture from the big day!!! He loved diggin' into his cake :) 


Thank you for stopping by! Please subscribe while visiting my YouTube channel...it's Free!
*Stay connected with me via Twitter @GlamourbyLexi (https://twitter.com/glamourbylexi)

xoxoxo
~Lexi 

Monday, January 6, 2014

Manicure Essentials (Tools, Products & More)

Hey guys!


So I am back from my little holiday break and I'm back in the saddle of blogging and video filming. I hope you all had a fantastic holiday with loved ones. I had a great holiday with my husband and our now one year old little boy :)


Today's post is about Manicures and Pedicures. I will give you all the information needed for buying the right tools and products. I posted a video on this topic on my YouTube channel, so click here to watch it.


Tools: (Most items can be found at drugstores or at Sally Beauty Supply)

* Fingernail clippers- any brand will do.

* Toenail clippers (yes, I am a bit weird on using my fingernail clippers on my toes. This is not an additional item that is necessary)

*Cuticle Nippers- these are a must! These are great for any dry skin around the nails/cuticles or if you have hang nails (which are normal to get from time to time)

*Nail Files- don't get ones that are too abrasive, those can harm your nails in the long run.

*Nail Buffer- Buffing your nails slightly before applying treatments or base coats can really help extend the nail polish wear.

* Cuticle remover liquid or gel- I feel this helps cut down on mani/pedi time especially when you are pressed for time. These products work amazingly and I will continue to use them. I found mine at Sally Beauty Supply for $6 and it's changed my manicure process, big time! The brand is Blue Cross (it's actually shown in photo above) and it's a liquid form like what's used at the salons. If you rather not buy an additional item, just soak your nails in a bowl of warm water for 10 minutes.

*Nail Treatments- This all depends on your nail needs. I do however, recommend a nail treatment that helps fortify and strengthen your nails. This is especially important for those who manicure often and for ones that have sensitive nails. I love Orly nail products for this step.

*Base Coats- Super important! By far, the best is CND sticky base coat. I love it so much :) It has extended my nail polish wear tremendously. Truly great stuff. 

*Hand Cream- Especially important for this time of year. I think everyone should own a hand cream. It makes such a difference in your nails and in the appearance of your hands. 


So there you go, a quick low down on every tool/product I feel is important. I have been doing my nails on a weekly basis for years now and I have narrowed down what's necessary. I hope this guide helps you and saves you money. Doing your own at home manicures and pedicures can save so much money over a years time. 

Don't forget to head over to my YouTube channel for more on this topic and for more great beauty related things. Please subscribe, it's Free :) http://www.youtube.com/user/GlamourbyLexi

**Follow Me on Twitter for Daily Updates! 

Thanks for stopping by and for your support!

xoxoxo
~Lexi